Upload photos
To create a new Album you need to provide an Album name, and optionaly a place and a description of the Album.
After doing so you just drag and drop the pictures from your file manager to the thumbnail area.
You can also press Ctrl A to add pictures.
You can upload photos to a new album or an existing album.
Upload photos to a new Album
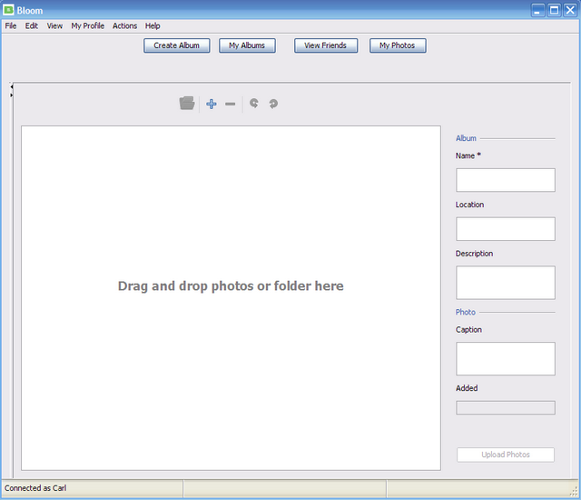
- Provide a name for the album and optionally a description and a location
- Drag and drop your photos from your file manager (i.e. Windows Explorer or Mac OS X finder). If you prefer you can click on the Add icon instead or use the Ctrl A shortcut on Windows and Linux and Apple A on Mac OS X. You can add captions to your photos.
- Double click on an image or press the Enter key to open the image in a new window so you can tag the image
- Click the Tag button on the toolbar on the bottom of the screen, to tag other pictures press next or the right arrow

- Press anywhere on the screen to add a tag, when you are finished click on Done Tagging
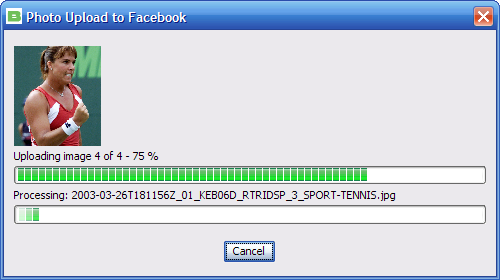
- Click on the Upload Photos button or Ctrl U on Windows and Apple U on Mac OS X, you will see the following dialog
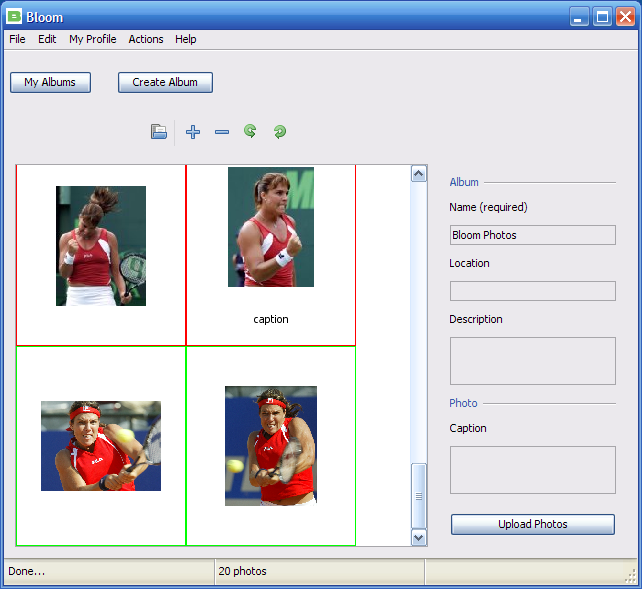
Upload photos to an existing Album
The images in red are the one that are already on Facebook, you cannot remove them or tag them
The images in green are the one that you want to upload
- Click on My Albums.|
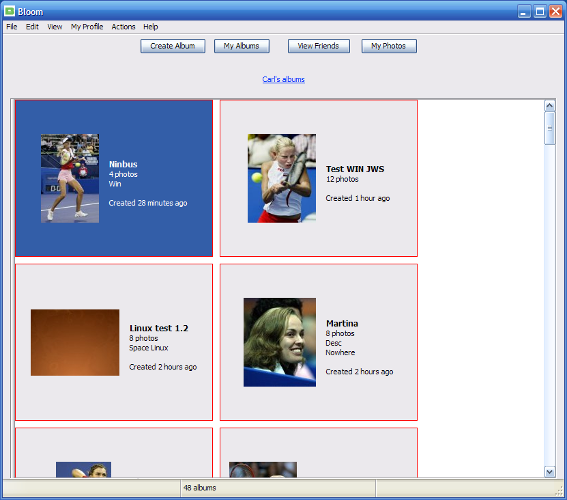
- Select the album you want to upload your photos to then Double click on the album, press Enter or right click then click on Open
- The images already present on your album are displayed. You can add your photos as shown at the top